by Ryan Jacobs
Vacuum brewers come in many shapes and sizes, yet they are more alike than they are different. They have the same basic components and operate on the same basic principles. You may also hear of these devices referred to as vac pots. In this article, we’ll do an overview of things common in vacuum brewing and offer tips that should help you regardless of the device you choose.
A few of the more popular models are listed below in their respective price ranges.
$25-$50 – Yama Syphon (Siphon); Bodum Santos Glass
These brewers are glass models and are generally heated by placing them on a range. The Yama offers a tabletop model that gets its heat from an alcohol burner. The brewing process is manual which is great if you love more control.
$100-$150: Bodum Electric Santos (this is the same as the Starbucks Utopia)
This device has a self-contained heating plate and is pretty much automatic in terms of brewing. You just push a button, and it does the rest. Because of its heating device, it can be used as a dual electric water kettle.
$200+: Cona Vacuum Brewers
These are similar to the Yama and Bodum Santos Glass units but are more pleasing to the eye and only use alcohol burners for heat. In addition, the coffee brewed in these models only touches the glass, meaning that your coffee will taste more like coffee.
Common Vac Pot Parts
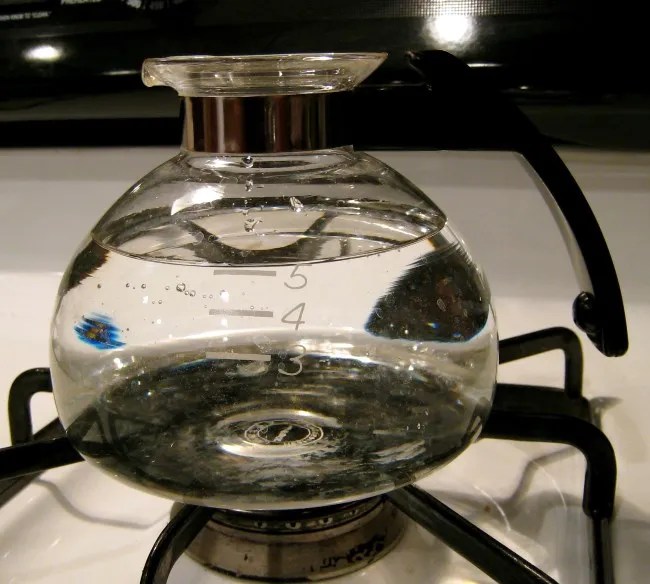
Vac Pot – Lower Chamber
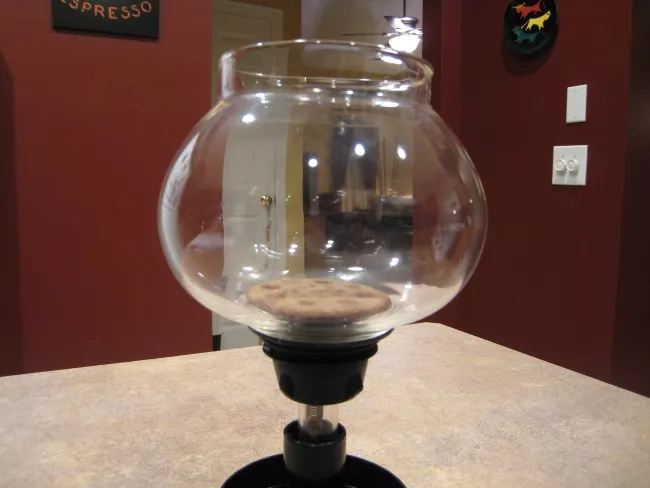
Vac Pot – Upper Chamber
Vac pots have a lower chamber to hold the brewing water as well as an upper brewing chamber. The two chambers are generally sealed together with a rubber gasket. A tube from the upper chamber extends into the lower chamber, allowing water to flow between them. A filter of some sort prevents the coffee grounds from flowing down into the lower chamber.
Common Principles
Vac pots suck. I don’t mean that in a negative manner, but they utilize suction to brew the coffee. The way this works is that the water in the lower chamber is heated by some source, often a gas or electric range and causes water vapor to be produced. This increases the pressure in the lower chamber and forces the water upward. When the heat is removed, the gases in the lower chamber cool and begin drawing the brewed coffee downward via suction caused by a partial vacuum.
Common Tips
Regardless of the type of device you are brewing with, the following tips should be useful:
#1 Preheat your water
Heat the water in the lower chamber to just below boiling before connecting the brewing chamber. If you connect the lower chamber to the brewing chamber with cold water, you will have a situation where water slowly seeps upward and makes contact with some of the coffee grounds. This means you can’t really control your brewing time as much.
#2 Proper Brewing Time
A key factor in the flavor of your brew will depend on how long you allow the water to steep with the coffee grounds. I like mine to brew for about 1.5 minutes. I measure this starting at the moment that the overwhelming majority of the water has entered the upper chamber and looks like it is boiling (it actually isn’t).
You can adjust the steeping time a bit longer or shorter to your preference. Occasionally, when the rolling action starts, you may find that the grounds form almost a floating crust that clearly isn’t making contact with the water. You’ll want to detect this early on and assist it with a stir of a spoon.
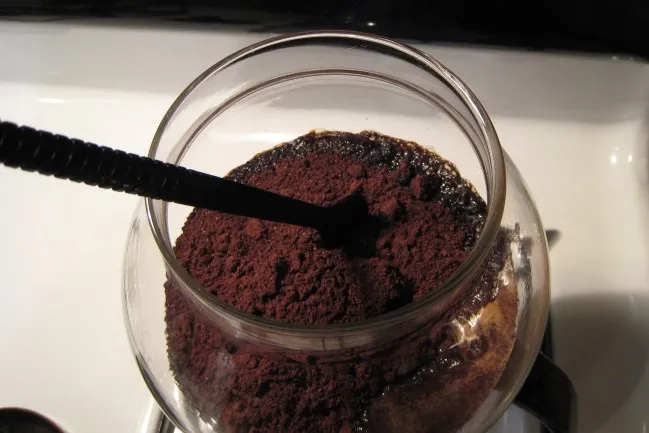
Vac Pot – Stir
#3 Proper Grind and Dose
You want your grind to be basically the same as you would use for automatic drip coffee. Also, you will want to use the same dosage as you would in automatic drip brewing.
#4 Assist the Cooling
Once the brewing time is up, we really want that contraction of gases in the lower chamber to begin so that the suction begins. Again, this helps control the brewing time. The simplest way to do this is to carefully remove the brewer from its heat source.
Move it from the still-warm burner to a cool one. Don’t go overboard with this, though, by surrounding the bottom chamber in an ice bath or similar methods. Firstly, unless you have really high-quality glass, you risk it cracking from the shock. Secondly, you still want your coffee to be hot.

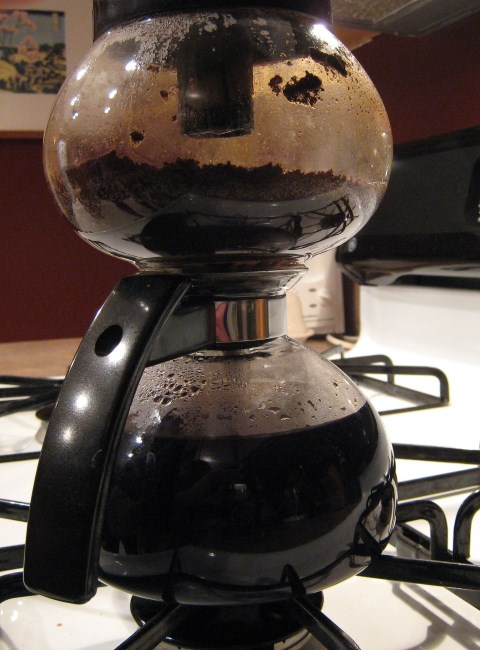
Vac Pot – Completed
I hope these general tips will assist you in your vac pot brewing ventures.
Resources
Vac Pot Brewing with the Yama Syphon – A brewing tutorial for the Yama.
Vac Pot Brewing with the Bodum Sanos – INeedCoffee coffee brewing tutorial.
Vac Pot Brewing with the Starbucks Utopia – INeedCoffee coffee brewing tutorial.
Vac Pot Primer – An article on the rich history behind vacuum pot coffee brewers.